
As stated in an early entry, I decided that for my assignment I was going to print an image onto wood.
Some problems that I expected to run into while doing this assignment were:
- most people said that you couldn't use an Inkjet printer for this process, but not having access to a laser printer, I decided to attempt using my Inkjet;
- I expected to have trouble working out how much of the gel medium I was going to need to use;
- I expected to have issues with rubbing off the paper, because I felt I would end up rubbing off the ink as well;
- I decided to attempt this in colour, when I had only read tutorials for black and white - as such, I wasn't sure that the colours would come out, which would result in a very faded photograph or no image at all.
Let's start with the process. First, my equipment: a wooden box, white acrylic paint, Matisse Gel Medium, an Inkjet printer, a paintbrush, a roller, and my image.

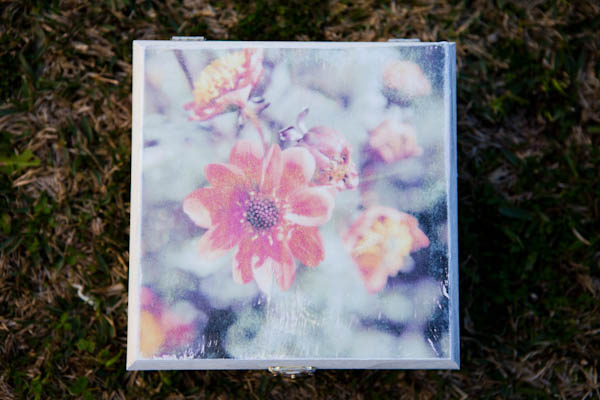
This was the photograph I chose to use for my assignment. It's a picture of my mother's dahlias, where I have edited the colours and sharpness to give it more of a pictorialist look. A soft focus and wider aperture were also used to achieve this.
These photographs showed my first attempt at this assignment, which didn't go quite according to plan, but is exactly the same as what I did the second time around bar one thing: the first time around, I painted the box in full before printing the photo to the lid. The second time, I only coated the top part of the box in paint. We will see why shortly.

One everything was ready, I applied the gel medium to the top of the box in an even layer. The first time I did this, I used a medium sized paint brush and didn't take much notice of my speed. The second time, I used a larger paintbrush and did this quickly, so that the gel medium would all remain wet before the image was applied.

Once applied, the image and the gel medium were left to dry overnight. Once it was done, I ran the paper under running warm water and began to peel away as much as I could.
The first time I attempted this, this was where things started to go wrong. I didn't know that acrylic paint became slippery and began to come off once it was wet. As such, I ended up getting paint all over my hands and my image began to rub off in places that I didn't want it to.
The second time, the rest of the box was paintless while only the side that held the image had been painted. I also used cold water this time, and achieved the effect I was after.
Overall, I am very pleased with the way my assignment came out:
This was finished by applying acid free Mat Spray to the image to protect it.
I quite enjoyed this, as it was both fun and rewarding. I can see myself doing this a lot in future, as such things make for great gifts. Overall, it didn't cost too much either. From the Riot! arts and crafts store that I got all of my materials from, I spent $10 on the box, $10 on a container of paint that still has most of its contents, and $15 on the gel medium while is also still mostly full. Paintbrushes were pre-owned and the roller was $2.
No comments:
Post a Comment